DIY Driveway Resurfacing Tips: 99exch.com login, Laser247 com, Yolo 24/7 login
99exch.com login, laser247 com, yolo 24/7 login: DIY Driveway Resurfacing Tips
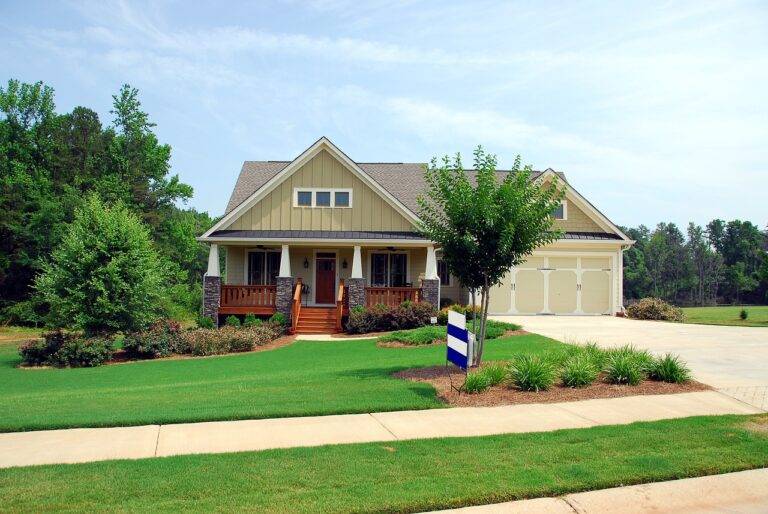
Are you looking to spruce up your driveway without breaking the bank? Resurfacing your driveway can give your home a fresh new look and increase its curb appeal. While hiring a professional to do the job can cost a pretty penny, you can save money by taking on the project yourself. With the right tools and a bit of elbow grease, you can have a beautifully resurfaced driveway in no time. In this blog post, we will discuss some DIY driveway resurfacing tips to help you get started.
1. Assess the Condition of Your Driveway
Before you begin the resurfacing process, take a close look at your driveway to assess its current condition. Look for cracks, holes, and areas of wear and tear that will need to be addressed before resurfacing. It’s important to fix any underlying issues to ensure a smooth and long-lasting finish.
2. Clean the Surface
The key to a successful driveway resurfacing project is proper preparation. Start by thoroughly cleaning the surface of your driveway to remove any dirt, debris, or oil stains. Use a pressure washer or a stiff-bristled brush to scrub away tough stains and grime. Allow the driveway to dry completely before moving on to the next step.
3. Repair Cracks and Holes
Once the driveway is clean and dry, fill in any cracks or holes with a quality concrete repair compound. Smooth out the compound with a trowel and allow it to dry according to the manufacturer’s instructions. This step is crucial for ensuring a seamless finish once the resurfacing material is applied.
4. Apply a Bonding Agent
To help the resurfacing material adhere to the existing driveway surface, apply a bonding agent according to the manufacturer’s instructions. This will create a strong bond between the old and new materials, ensuring a durable and long-lasting finish.
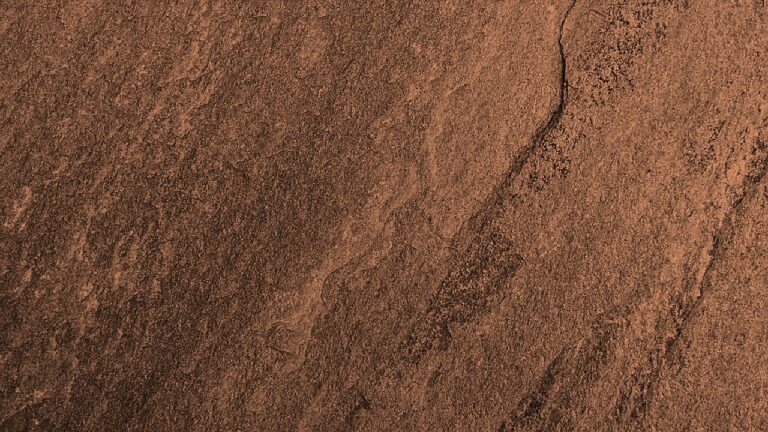
5. Mix and Apply Resurfacing Material
Next, mix the resurfacing material according to the manufacturer’s instructions. Use a trowel to apply the material to the surface of your driveway, working in small sections to ensure even coverage. Smooth out the material with a squeegee or trowel, making sure to feather the edges for a seamless finish.
6. Add Texture (Optional)
If you want to add a decorative touch to your driveway, consider adding texture to the resurfacing material before it dries. You can use a broom, stamp, or other textured tool to create a custom look that suits your style.
7. Allow to Cure
Once you have applied the resurfacing material, allow it to cure according to the manufacturer’s instructions. This may take several hours or even a few days, depending on the product used. Be sure to keep foot and vehicle traffic off the driveway during this time to prevent damage to the newly resurfaced surface.
8. Seal the Driveway
To protect your newly resurfaced driveway from the elements and extend its lifespan, consider applying a high-quality concrete sealer. This will help to prevent damage from UV rays, water, and chemicals, keeping your driveway looking beautiful for years to come.
9. Maintain Your Resurfaced Driveway
To keep your driveway looking its best, be sure to maintain it properly. Regularly sweep away debris, clean up oil stains promptly, and reseal the surface as needed. With proper care, your DIY resurfaced driveway can last for years to come.
FAQs
Q: How long will it take to resurface my driveway?
A: The time it takes to resurface a driveway will depend on the size of the area, the condition of the existing surface, and the type of resurfacing material used. In general, you can expect the project to take a few days to complete.
Q: Can I resurface my driveway myself, or should I hire a professional?
A: While resurfacing a driveway can be a DIY-friendly project, it requires a certain level of skill and experience. If you’re comfortable working with concrete and have the necessary tools and materials, you can tackle the project yourself. However, if you’re unsure or have a large or complicated driveway, it may be best to hire a professional.
Q: How much will it cost to resurface my driveway?
A: The cost of resurfacing a driveway will vary depending on the size of the area, the condition of the existing surface, and the type of resurfacing material used. In general, DIY driveway resurfacing can cost anywhere from $500 to $1500, depending on these factors.
In conclusion, DIY driveway resurfacing can be a rewarding project that can transform the look of your home. By following these tips and guidelines, you can achieve a professional-looking finish that will enhance your home’s curb appeal and increase its value. So why wait? Get started on your driveway resurfacing project today and enjoy the results for years to come.